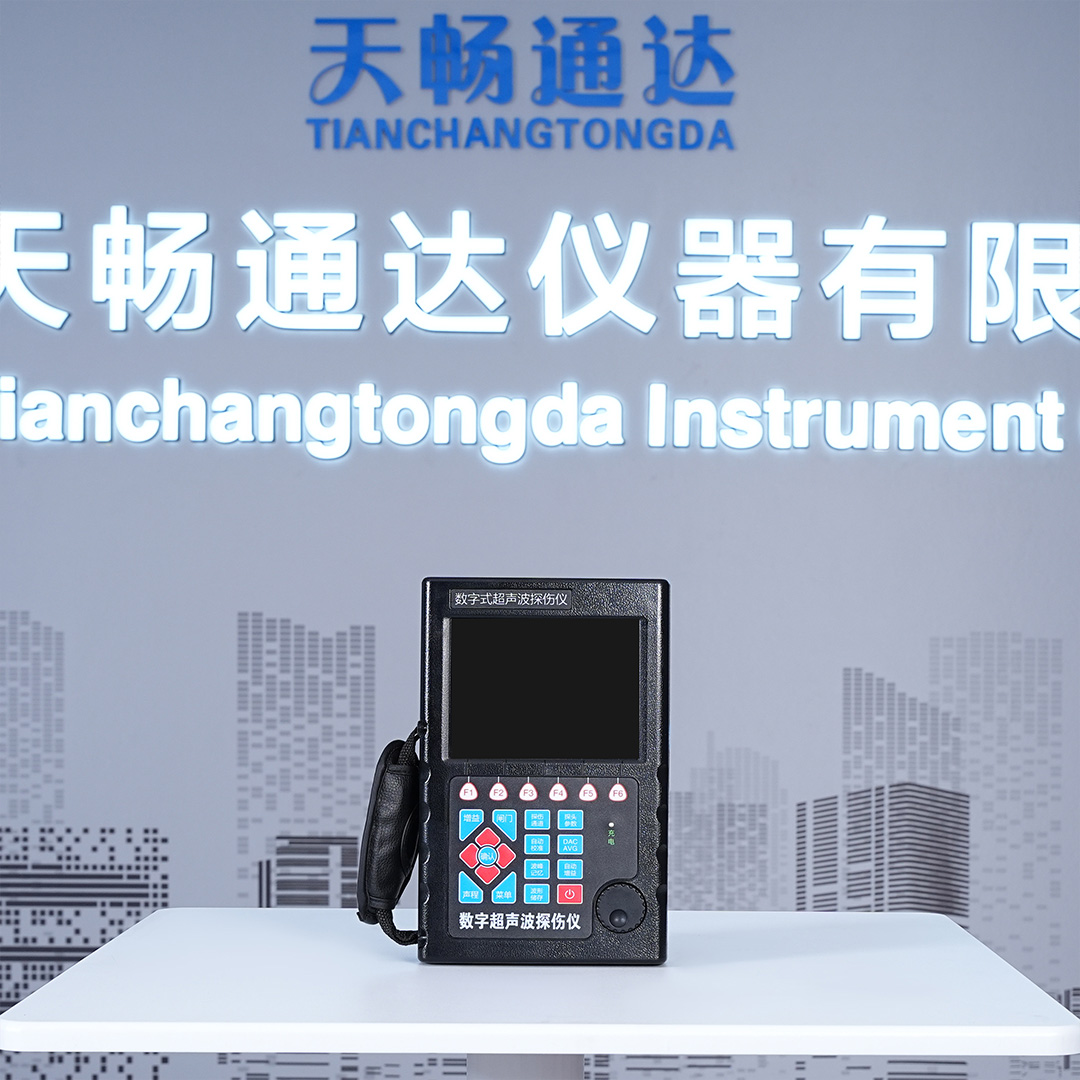
TS-600 ultrasonic flaw detector

PIC-(TS-600 ultrasonic flaw detector)
1、 Overview:
The digital ultrasonic flaw detector can quickly, conveniently, without damage, and accurately detect, locate, evaluate, and diagnose various internal defects of workpieces such as cracks, welds, pores, sand holes, inclusions, folds, etc. It is widely used in fields such as power, petrochemicals, boilers and pressure vessels, steel structures, military industry, aerospace, railway transportation, automobiles, machinery, etc. It is an essential instrument in the non-destructive testing industry.
2、 Main functions:
● High precision quantitative and positioning, meeting the requirements of close and long distance testing;
The near-field blind spot is small, which meets the requirements for small diameter and thin-walled pipe inspection;
● Automatic calibration: One click automatic calibration, very convenient to operate, automatically testing the "zero point", "K value", "front edge" of the probe and the "sound speed" of the material
Automatic display of defect echo position (depth d, horizontal p, distance s, wave amplitude, equivalent dB, aperture) ф Value);
● Free switching of three scales (depth d, horizontal p, distance s);
● Four detection methods: full wave, radio frequency, AB scan;
The automatic gain, waveform freezing, and peak memory functions have improved the efficiency of flaw detection;
● Automatically record the inspection process and enable dynamic playback;
● φ Value calculation: straight probe forging inspection, identifying the highest wave of defect and automatically converting aperture ф Value;
● 1000 independent flaw detection channels (expandable), which can freely input and store any industry's flaw detection standards, and on-site flaw detection does not require carrying test blocks;
● Can freely store and replay 500 A-scan waveforms and data;
DAC and AVG curves (depth compensation) are automatically generated, with unrestricted sampling points and the ability to correct and compensate;
14 built-in flaw detection standards can be called out;
● Can freely input any industry standard;
● Adjustable emission pulse width and intensity;
● B-scan function, clearly displaying the longitudinal section shape of defects;
USB storage for data, replacing traditional PC direct data export. Implement computer data management and export BMP format, video files, and channel data;
IP65 standard ABS plastic shell, sturdy and durable, waterproof and dustproof, with excellent anti-interference ability;
Using (USB) communication software can analyze data, print reports, etc;
260000 color true color ultra high brightness display, suitable for working environments with strong and weak light;
High performance, safe and environmentally friendly lithium battery power supply, capable of continuous operation for 8-10 hours;
● Real time clock recording: Real time tracking and storage of inspection dates and times;
● Power failure protection, storing data without loss;
The flaw detection parameters can be automatically tested or preset;
● Digital suppression without affecting gain and linearity;
● Gain compensation: The dB attenuation caused by factors such as surface roughness, curved surface, and long-distance inspection of thick workpieces can be corrected;
The PC communication software soft keyboard operation has achieved the goal of computer-controlled flaw detector host for flaw detection.
Technical parameters:
technical specifications
5.7-inch industrial high brightness LCD screen with a resolution of 640 x 480
Operation mode button, pulley,
Battery type: Lithium ion battery
Battery capacity 5.0Ah
Battery voltage 7.4V
1 battery
Battery working time ≥ 8 hours
Adapter input AC 100-240V 50Hz/60Hz
Adapter output DC 9V5A
Adapter power 36W
Data storage (2G)
1 alarm
Working environment -10 ℃~45 ℃
Storage environment -20 ℃~60 ℃
IP rating IP65
Instrument size (width x height x depth) 245X155X55 (mm)
Instrument weight 1.18kg (including battery)
Universal UT mode
Probe interface type Q9 dual
Detection channel single channel
1000 sets of channels (scalable)
Pulse type negative sharp pulse
Emission voltage 50-400V,
Damping 560 Ω
Gain 0-120dB, step: 0.2/1-50
Surface compensation full gain range
Bandwidth 0.4-20MHz;
Probe types: single crystal probe, twin crystal probe, penetrating probe, water immersion probe
Filter intelligent adaptive filter
Detection method: negative/positive/full wave/RF
Suppress 0-80%, step by 1%
Detection range 0-9999mm, minimum display range 15mm (steel grade longitudinal wave)
Material sound speed 5-9999m/s
Pulse shift -7~9984mm
Probe zero point 0-200us
Probe front edge 0-100mm
Guided weld inspection, plate inspection, and forging inspection
Measurement point peak value
Gate opening: full range
Gate width: full range
Gate level: 10-90%, step by 1%
Curve function DAC (curve/line), with a maximum of 4 lines, in compliance with NB/T 47013, GB/T 11345, and GB/T 29712 standards.
AVG (including triple near-field)
Auxiliary functions waveform filling, waveform freezing, quick scanning, outdoor mode, screenshot
Crack depth/Gate extension/B-scan/A-scan/Short film recording
Alarm sound and light alarm: incoming wave alarm
Sensitivity margin for flaw detection ≥ 65dB (200mm - Φ 2 flat bottomed holes, 2.5P Φ 20) )
Time based linearity ≤ 0.3%
Vertical linearity ≤ 2.5%
Horizontal linearity ≤ 0.1%
Amplitude linearity ≤ ± 2%
Attenuator accuracy 20dB ± 1dB
Dynamic range ≥ 32dB (JB/T 10061 standard test)
Far range resolution ≥ 26dB
Repetitive frequency 200Hz – 1000Hz
After sales service:
Under normal operating conditions according to the user manual, our company offers a two-year free warranty for our products (except for the probe connection wires for vulnerable and consumable parts), and is responsible for lifelong maintenance of the products.


